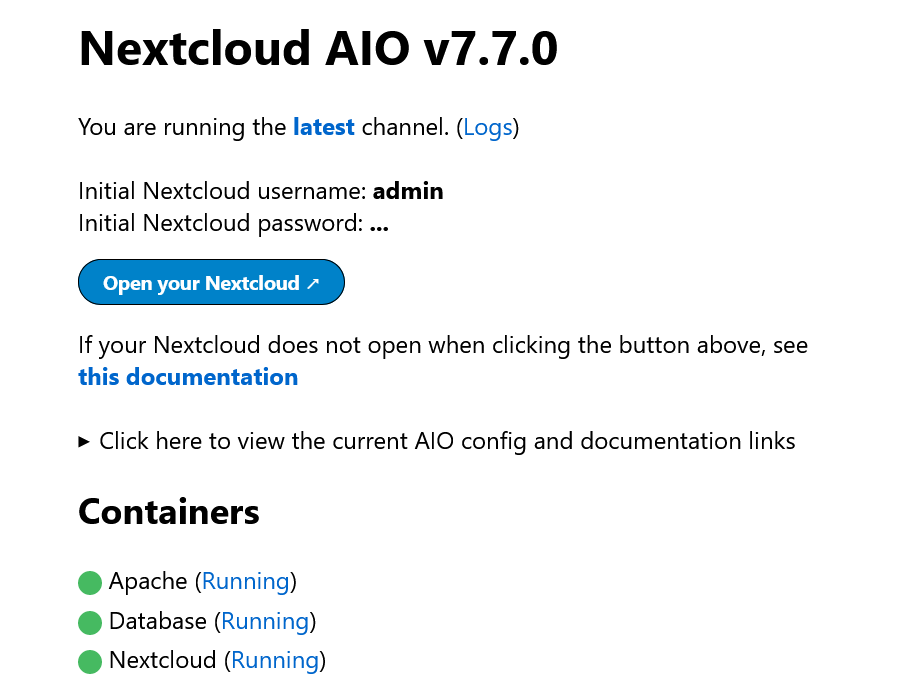
Setting up Nextcloud All-in-One without a reverse proxy is a straightforward process. Here’s a quick guide to get you started:
- Install Docker.
- Download the docker-compose configuration.
- Run
docker compose up -d.
Now, you can access the Nextcloud AIO web portal under your server’s IP at https://{$SERVER_IP}:8080 to begin the Nextcloud Setup.
However, if you aim to run your Nextcloud All-in-One setup with SSL without exposing any ports publicly or managing multiple services on the same port, a reverse proxy setup becomes essential.
In this scenario, we will leverage the traefik reverse proxy along with the Cloudflare DNS ACME challenge for certificate retrieval. This ensures automatic certificate renewals without requiring manual user interaction.
To implement this, follow these steps:
- Copy the provided files to their respective locations.
- Modify the Domain Names, E-Mail, and Cloudflare API Token as needed.
Once you’ve placed the files correctly, initiate your setup with docker-compose up -d. This approach adds an extra layer of security and convenience to your Nextcloud AIO deployment.


Leave a Reply