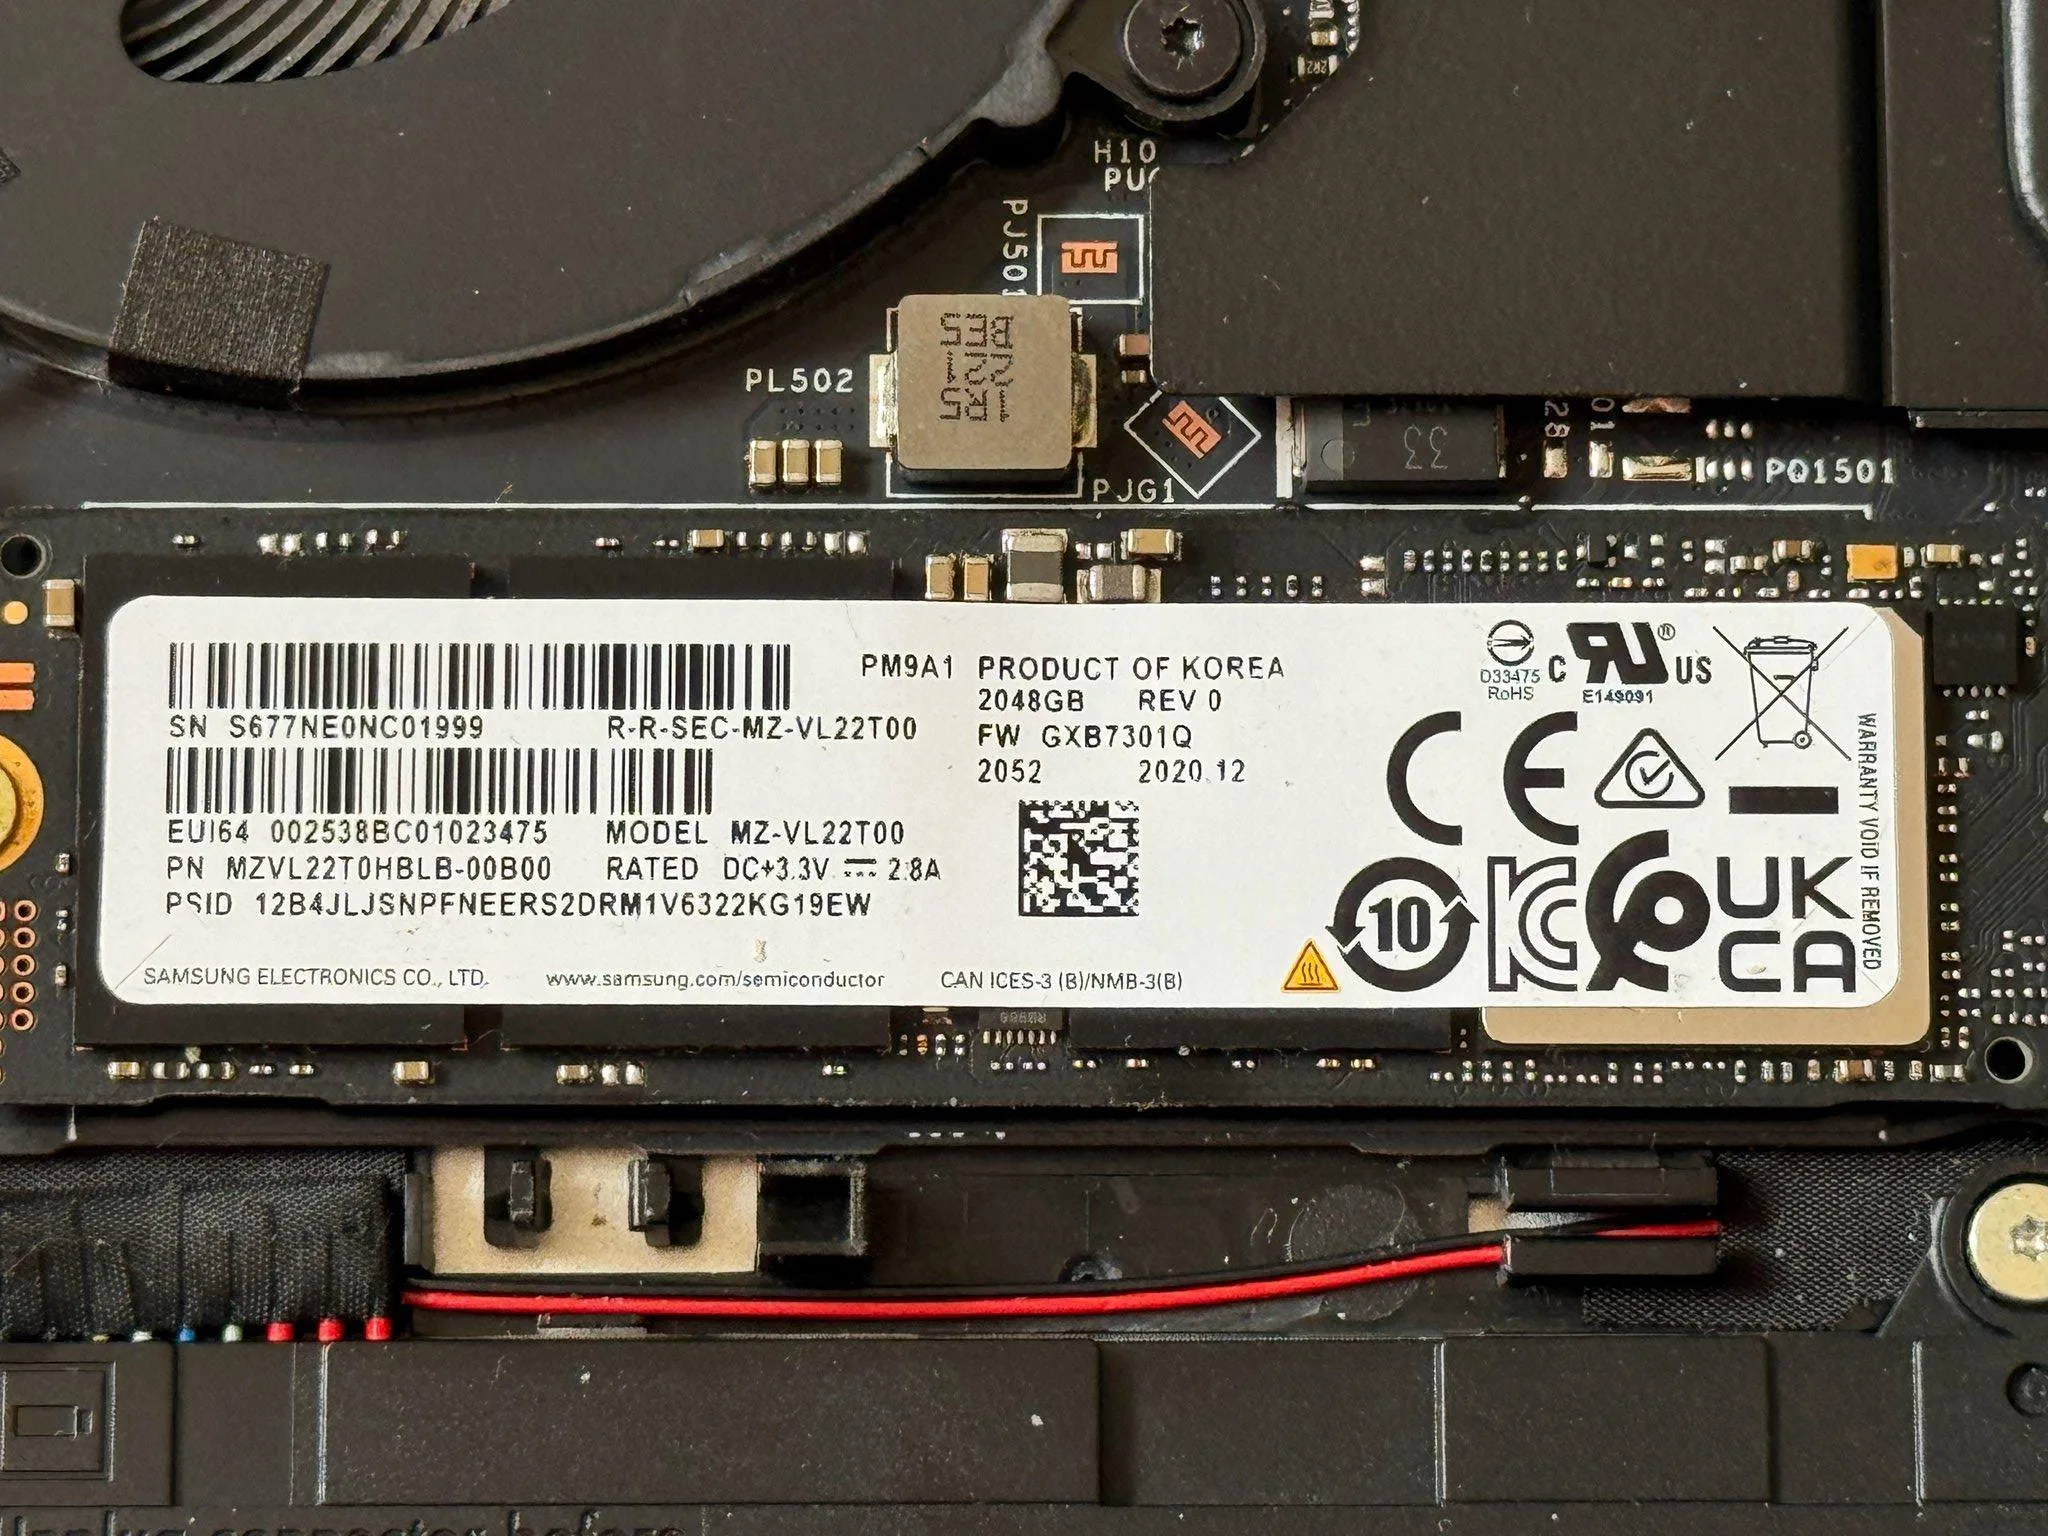
Unlocking the Power of Hardware Encryption
In the realm of IT security, the debate between hardware and software encryption often takes center stage. While software encryption solutions like LUKS dominate in Linux environments, hardware encryption presents a compelling alternative, offering robust security coupled with seamless performance. Here’s why hardware encryption stands out and how you can leverage its benefits.
- Independence from Software: Unlike software-based encryption methods such as LUKS, hardware encryption operates autonomously from your operating system. With just a preboot authorization image (PBA), you can unlock your drive without involving the OS, ensuring a streamlined and secure process.
- Optimal Performance: Say goodbye to performance bottlenecks. Hardware encryption runs smoothly, delivering optimal performance without slowing down your system. This means you can harness the full potential of advanced storage technologies like PCIe Gen4 NVMe SSDs without compromise.
In short, hardware encryption isn’t merely a security measure—it’s a game-changer. And to experience its benefits, all you need is a TCG OPAL 2.0 compatible drive.
Verifying Drive Compatibility:
To ensure your drive is compatible, begin by downloading sedutil. Unzip the archive and make the file executable using the command chmod +x ./sedutil-cli. Next, run ./sedutil-cli --scan to detect your drive. If it’s compatible, you’re all set. Otherwise, consider purchasing a TCG OPAL 2.0 compatible drive.
Preparing the Ubuntu Live System:
Before proceeding, ensure you have an 8 GB USB drive handy, as all its contents will be erased. Download the Ubuntu Desktop Image and flash it using Rufus on Windows or the Startup Disk creator on Ubuntu. Backup any data from your previous OS drive and boot into the Ubuntu live system from the prepared USB drive.
Installing Software Dependencies:
After booting into Ubuntu, download sedutil again and follow these steps:
1. Unzip the sedutil-cli archive and make the file executable with chmod +x ./sedutil-cli.
2. Move the executable to /usr/bin by running sudo mv ./sedutil-cli /usr/bin/sedutil-cli.
3. Install ‘rear’ for generating the PBA image:
sudo apt update
sudo apt install rear
4. Address a dependency issue by executing:
sudo tee <<< '/usr/lib/x86_64-linux-gnu/systemd' /etc/ld.so.conf.d/x86_64-linux-gnu-systemd.conf
sudo ldconfig
5. Build the PBA and rescue images:
sudo rear mkopalpba
sudo rear mkrescue
6. Set up full disk encryption by executing:
sudo rear opaladmin setupERASE {$YOUR_DEVICE}
Replace {$YOUR_DEVICE} with your SSD path, typically /dev/nvme0 for NVMe drives or /dev/sda for SATA-based SSDs.
With encryption configured, proceed with the Ubuntu installation without selecting any software-based encryption options.
Unlock the full potential of your storage with hardware encryption—it’s not just security, it’s a performance boost you can’t afford to miss.


Leave a Reply